Podcasting is on fire lately, with seemingly every subject matter expert creating a podcast to help share their expertise with the world and attract customers. We are no exception and have two great podcasts with over 50k total downloads: GRE Snacks – short, snackable episodes about how to ace your GRE, and our FINRA podcast with deep dives into complex topics like options spreads. To make our podcasts consistent every week, we needed to come up with a simple podcast audio editing process. Below, you’ll see what we came up with – this setup joins two audio files recorded locally on two separate computers by the co-hosts, who were recording over Zoom. Editing each podcast takes less than 15 minutes. We hope you find this helpful for your own podcasting!
All you need for this is the free audio editing software Audacity – https://www.audacityteam.org/download/
First, open the project file. It will say “Podcast # – Title” and be .aup

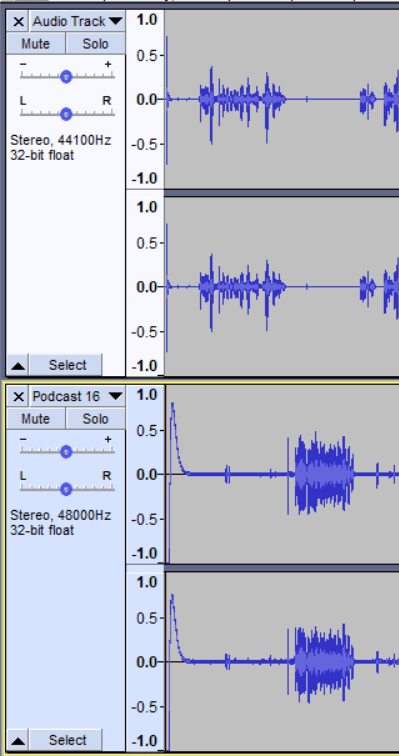
Then, with the project file open in Audacity, find the second person’s audio and drag it into the Audacity project.

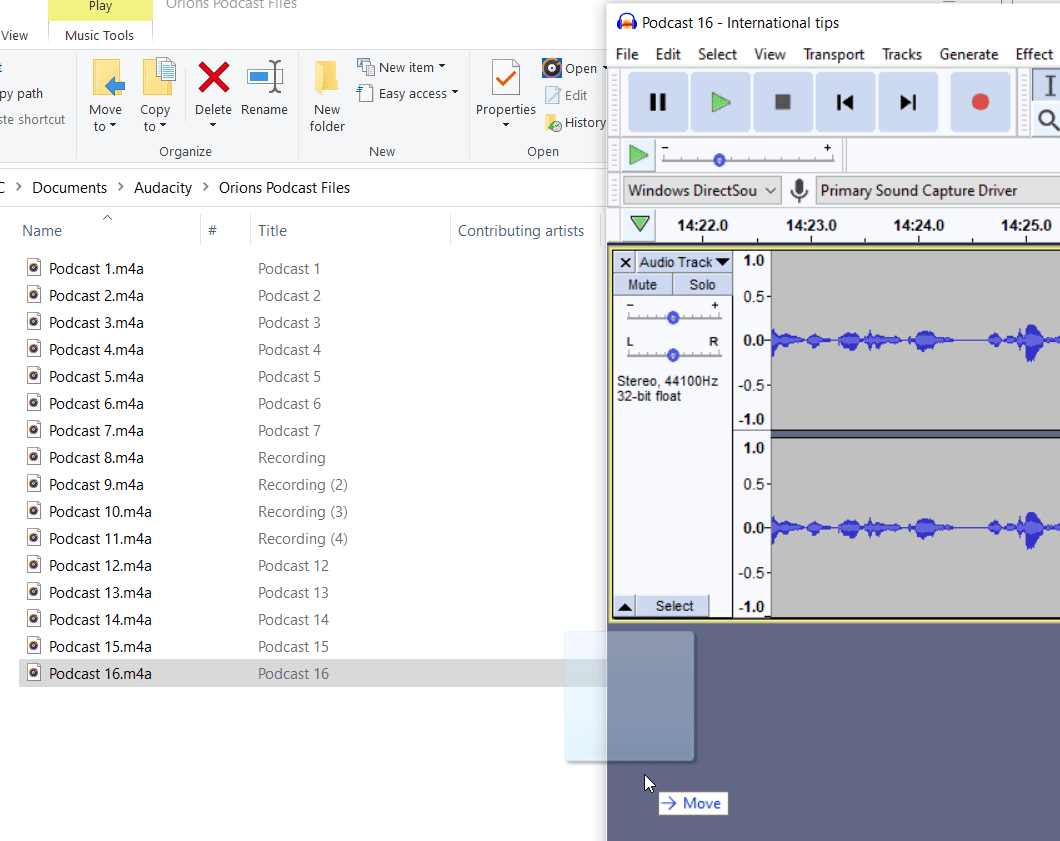
It should line up alongside the first Audio Track like this:
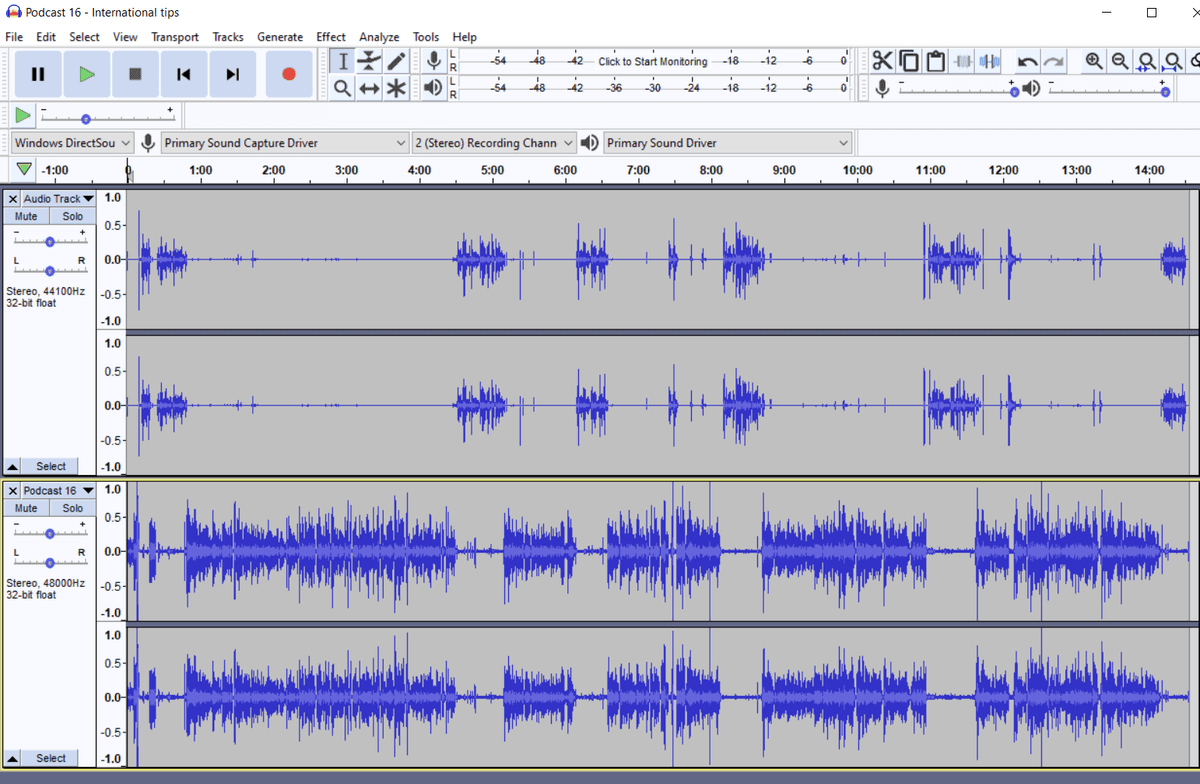
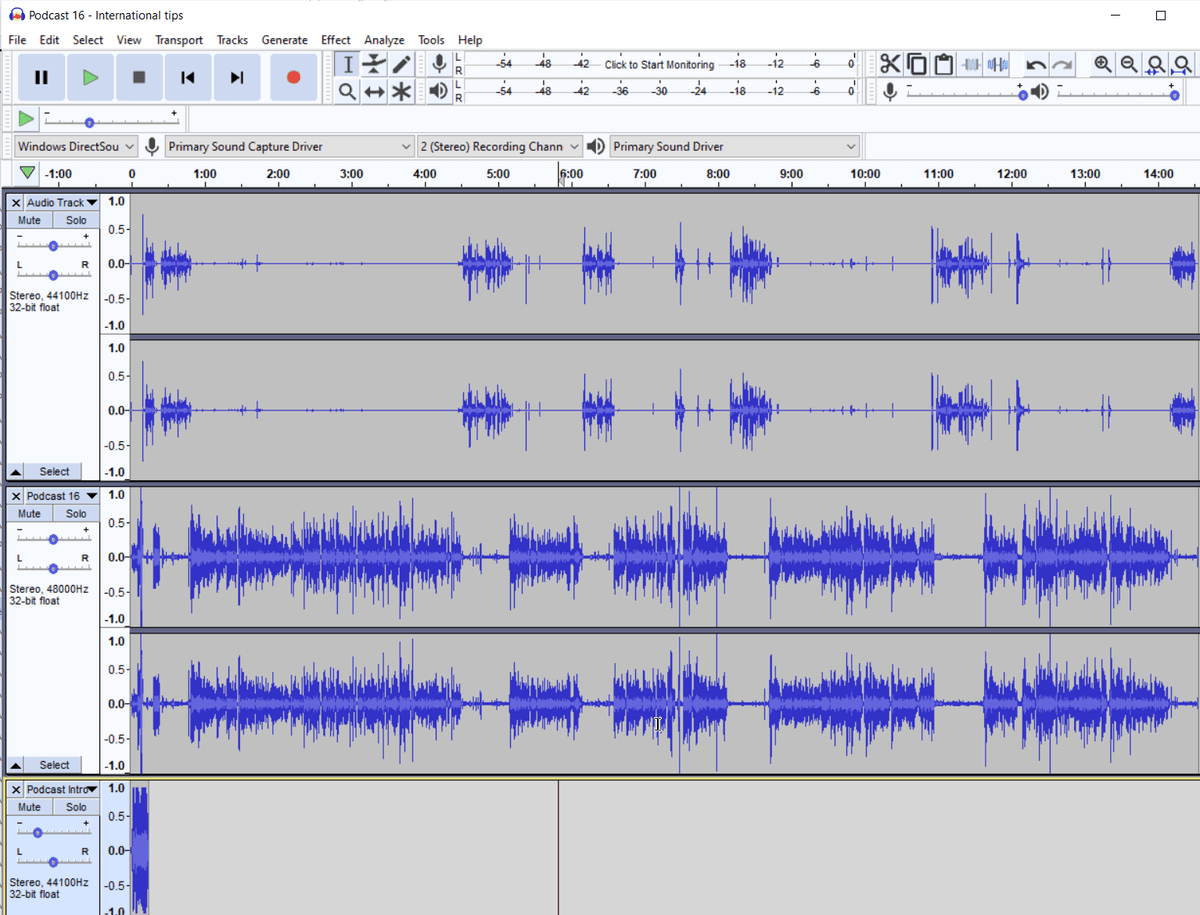
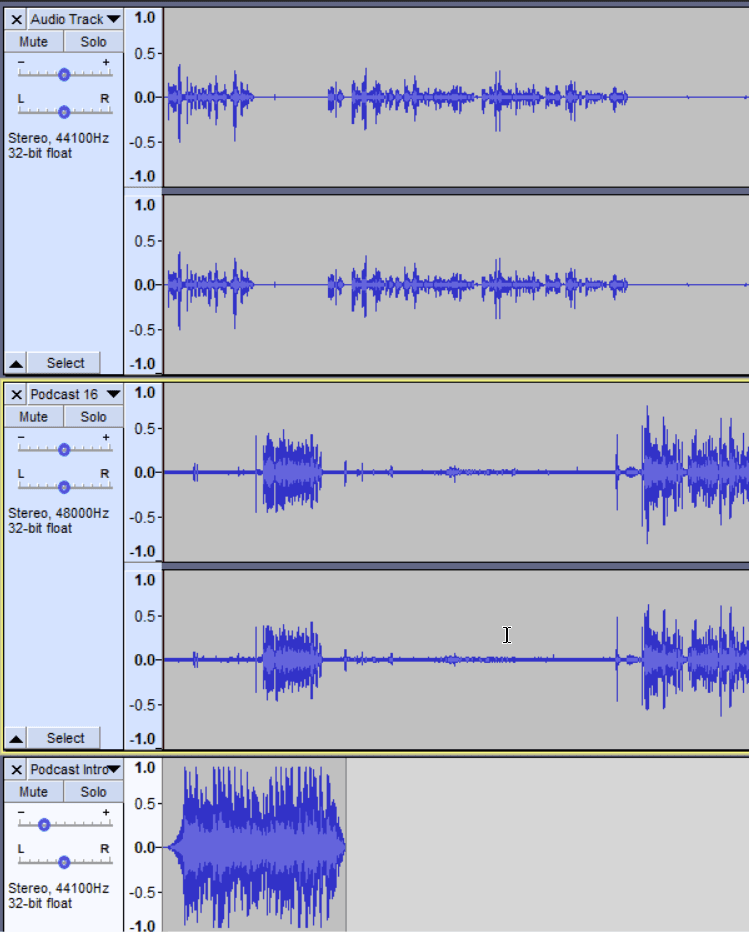
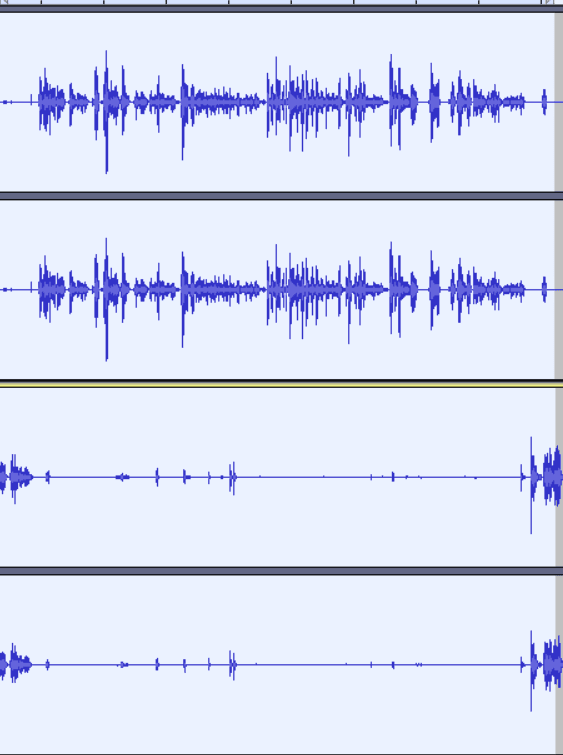
Then, open your “Podcast Intro Song.aup” file (assuming you have one), highlight the Intro song Audio Track, copy it, and paste it into the new Podcast # project. The final result should look like this:
Now we need to align the start times so that the audio is in sync. Zoom into the first minute of the audio using the zoom buttons in the top right corner. Use the scroll bar to scroll to the first minute. You’ll notice that there are two big spikes that look like this:
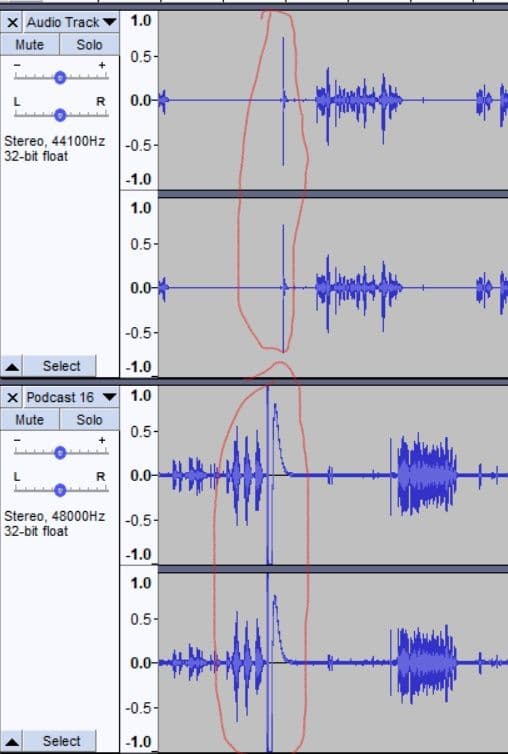
These spikes are me and my cohost clapping together over video chat to ensure we can align the audio tracks later. This is the same reason why movie producers use slate boards and say “Action!” when filming.
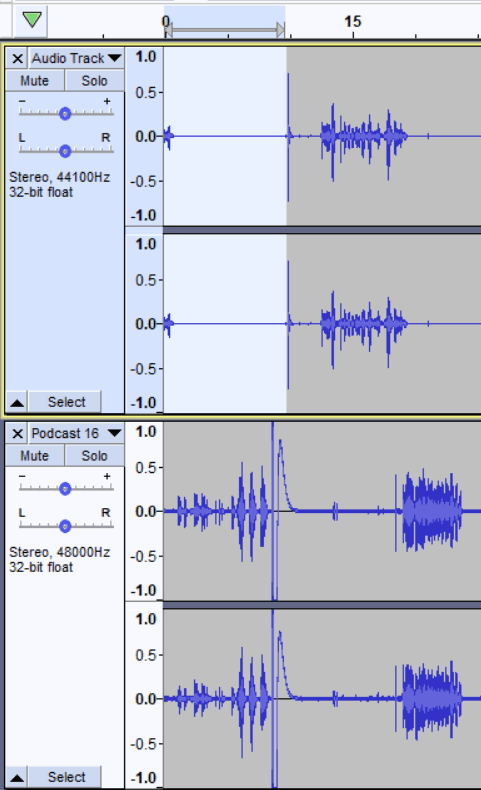
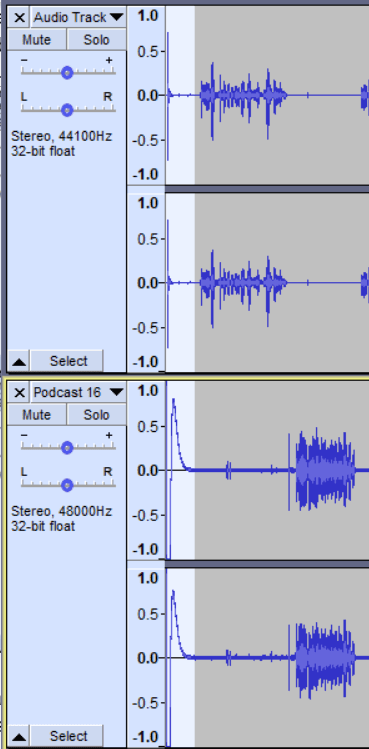
You want to highlight the area before each spike and delete it using the Delete key, so that the spike is at the start of each audio track, like this:
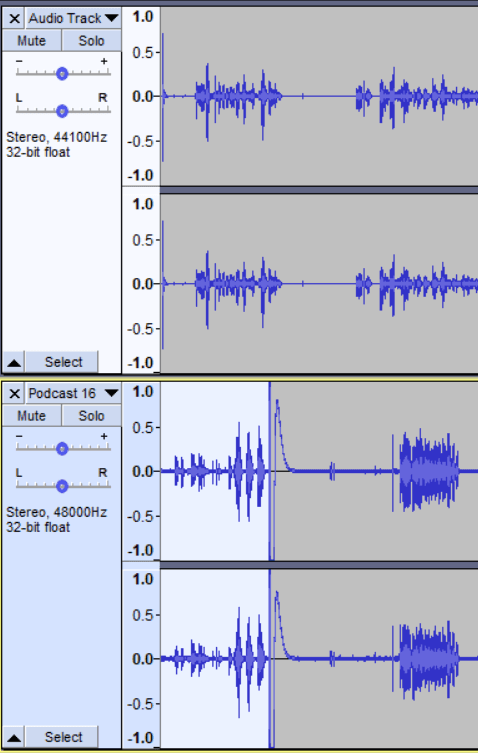
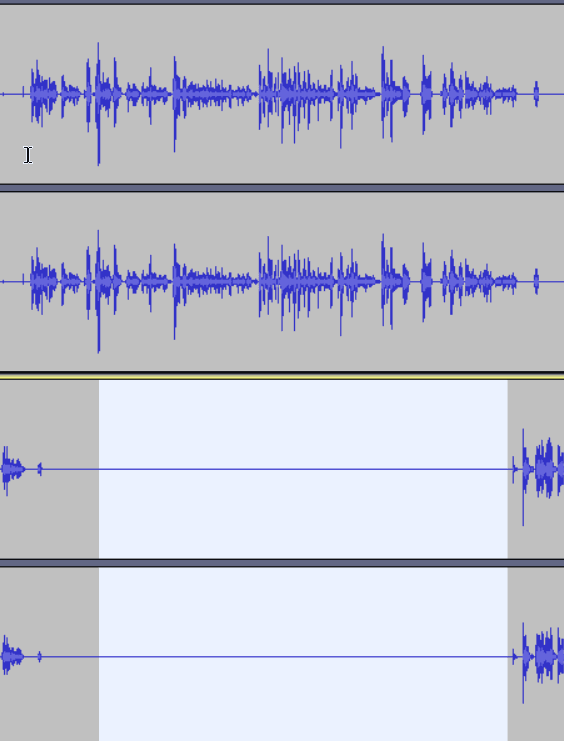
Then, you want to cut off the empty space that occurs before the dialog begins. To do this, highlight both tracks simultaneously and then delete the section:
Remember, when doing this, do not highlight the 3rd audio track, the Intro Song. Make sure that it stays intact. At the end of this step, it’ll look like this:
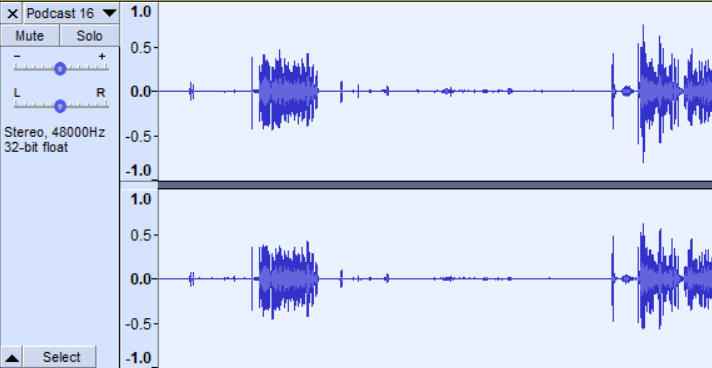
Now we are going to remove the white noise from the background of each of the two main audio tracks. You do not need to do this for the Intro Song. For each track, follow these steps:
Highlight a ‘blank’ area where there is no talking on that audio track. There may still be a small bar of noise anyway, which we’re trying to reduce:
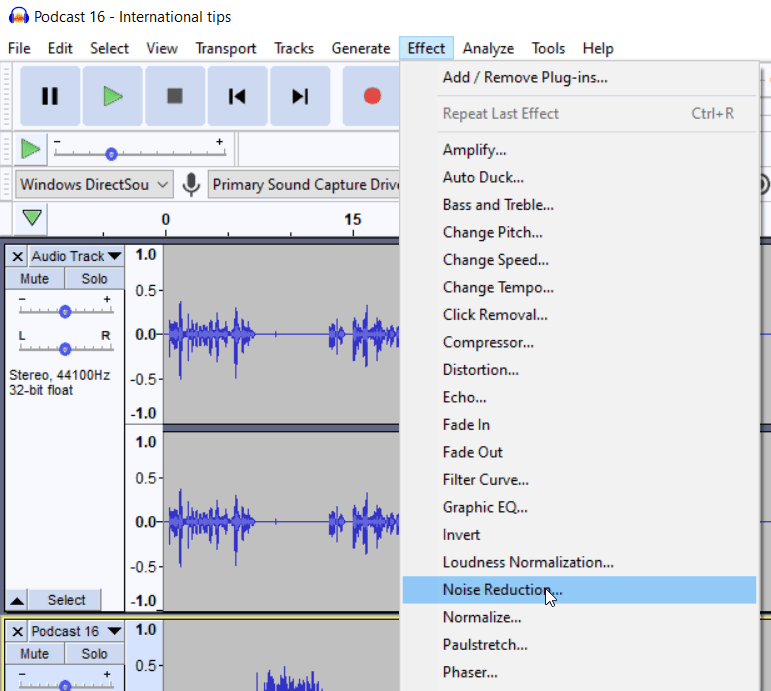
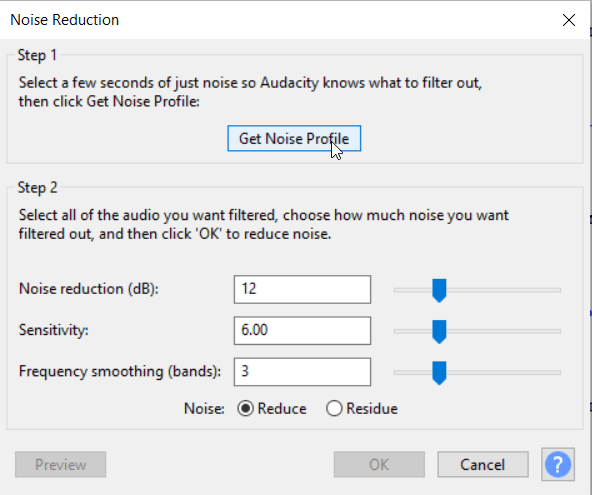
Then, go to Effect > Noise reduction with that area highlighted and click on it, then select Get Noise Profile.
Then, highlight the entire audio track by clicking on the blue bar on the left side:
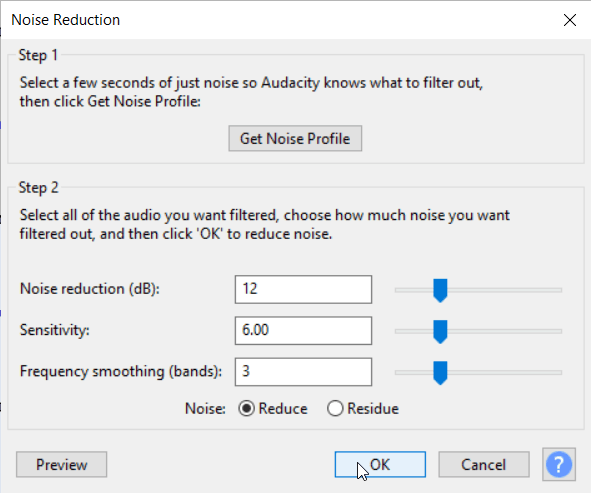
And then go to Effect > Noise Reduction and click OK in the box.
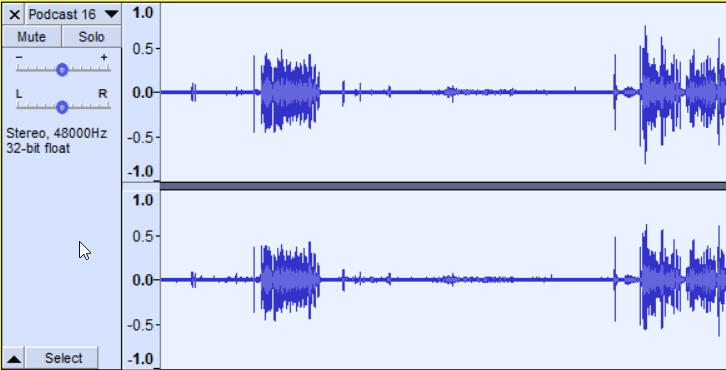
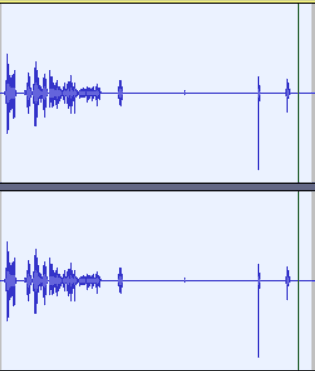
The track should now have noise reduced:
No matter the difference in audio quality, I always do this process to both audio tracks to be sure they’re clean.
Normalize is very similar to Noise Reduction, just a different Effect. You go to Effect > Normalize and then click OK with the default settings.

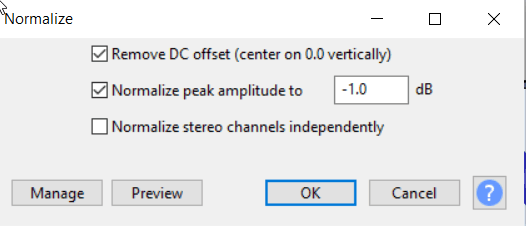
Do this for both of the main audio tracks. You do not need to do this for the Intro Song.
Now, go through the audio slowly by scrolling across and look for big spikes that are not surrounded by dialog, like this:
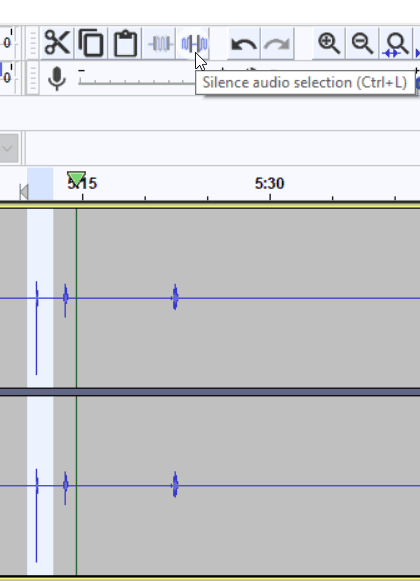
For those spikes, listen to them by hitting Play when it’s highlighted. Sometimes, you’re bumping the desk or clicking your mouse. When that’s the case, highlight the spike or noise and click the Mute button (Control-L) in the top right corner to remove it. If it’s a cough or laugh, I typically leave it in so that the conversation feels more natural unless it is very loud or distracting.
In the above example, there are two spikes – one on the left and one on the right. The one on the left is a ‘click’ and should be removed. The one on the right is me reacting (“Hmm”) and should not be removed. That’s why it’s important to listen to each thing before you delete it.
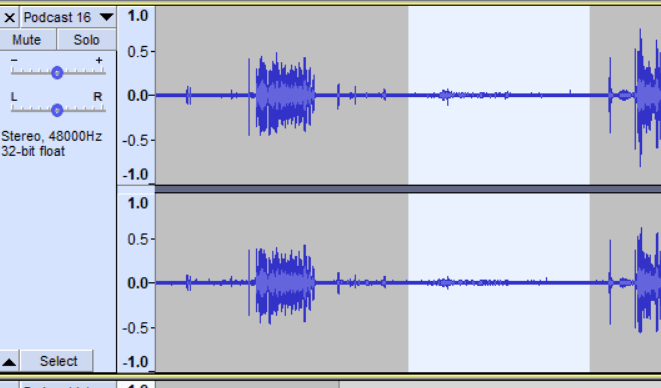
There will also be other sections where one person is clearly talking and the other person is just making noise, like this:
In this case, you should also Mute (Control-L) the noises – but always listen first to make sure they’re things we should be deleting.
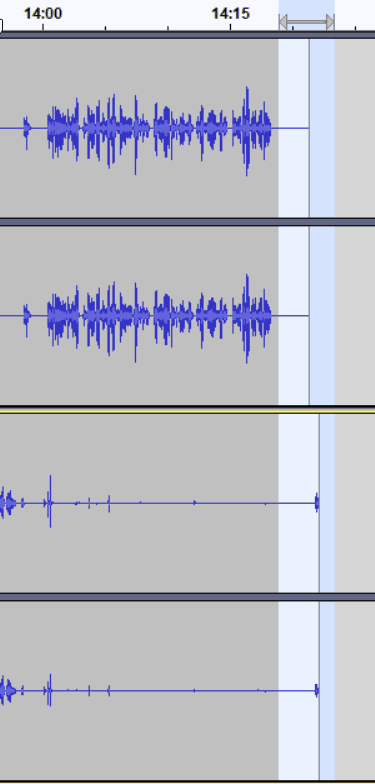
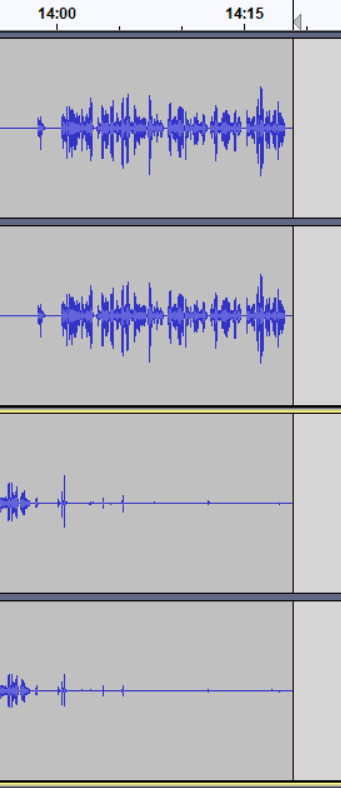
Almost done! Last, just trim the blank extra time off of the end by highlighting both tracks and then removing the excess time by pressing the delete key:
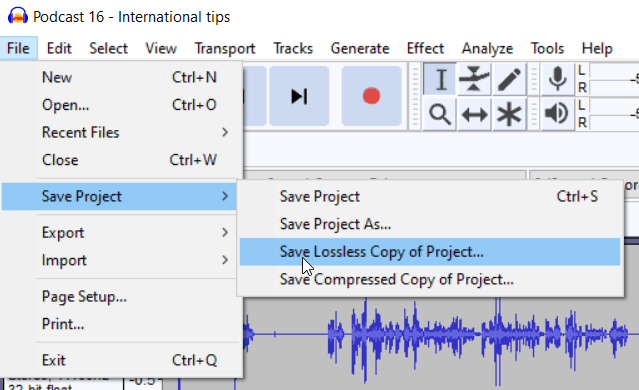
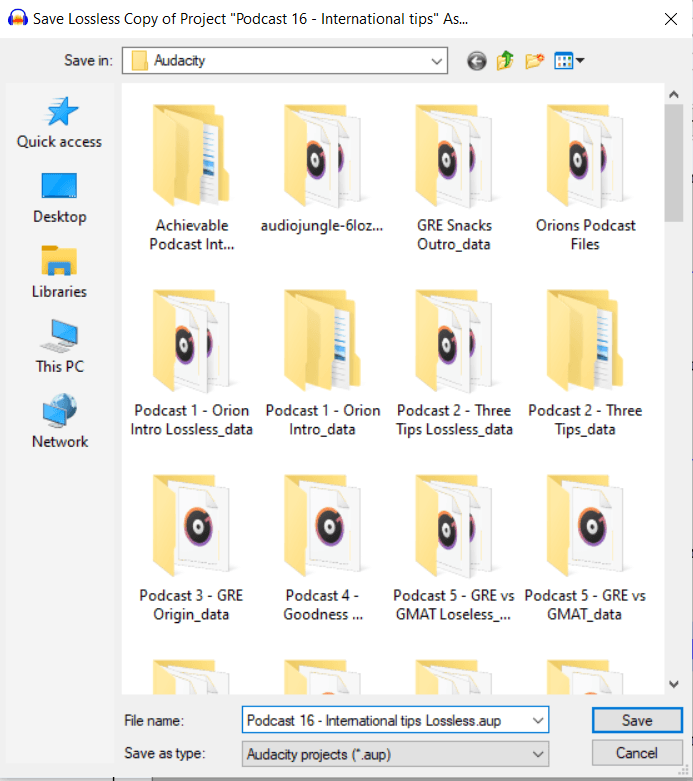
Now, go to File > Save Project > Save Lossless Copy of Project and save the project as “Filename Lossless”. I like to do this so that there is a Lossless copy of the final project in case we need it in the future.
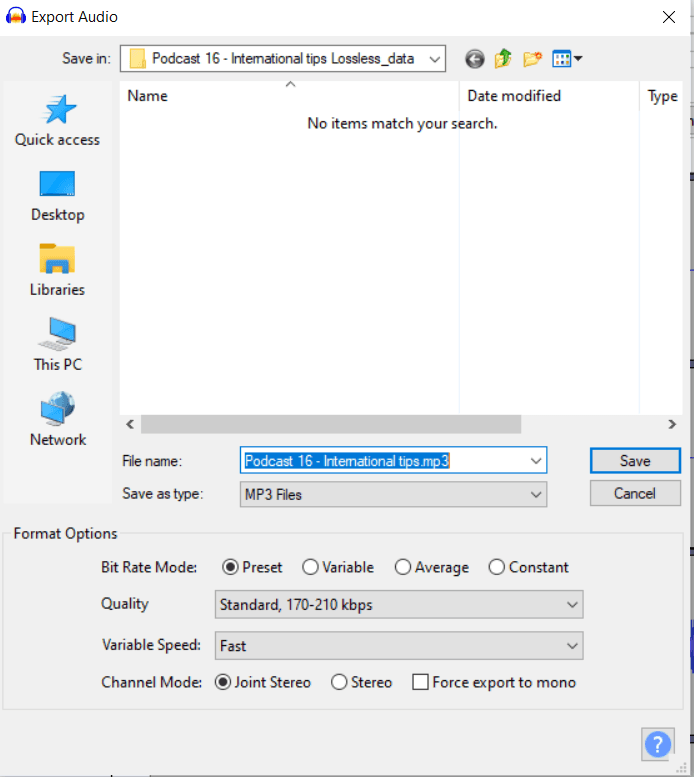
Then, go to File > Export > Export as MP3 and click Save. You’ll be asked to enter Metadata Information.

When you see the Metadata information screen, you should enter at least the following information:
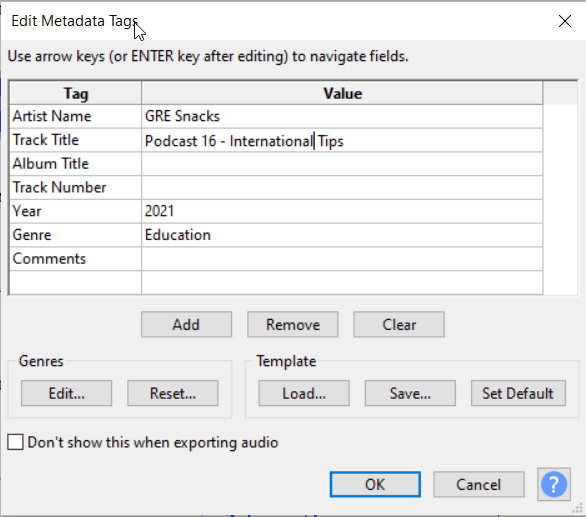
Artist Name
Track Title
Year
Genre
The rest of the fields can be blank, but filling it out further can give you extra polish and metadata on some platforms.
And you’re done! If you enjoyed this post, please check out Achievable’s great test prep courses for the GRE, FINRA exams, and USMLE Step 1 – or send them to a friend that might benefit from them. We guide students through a personalized learning path and train them to memorize their test material until they’re fully prepared to pass their exam.